October Vibes, Movies, Reading, and the dbrand Switch 2 Killswitch!: The Talking Place (Episode 38)
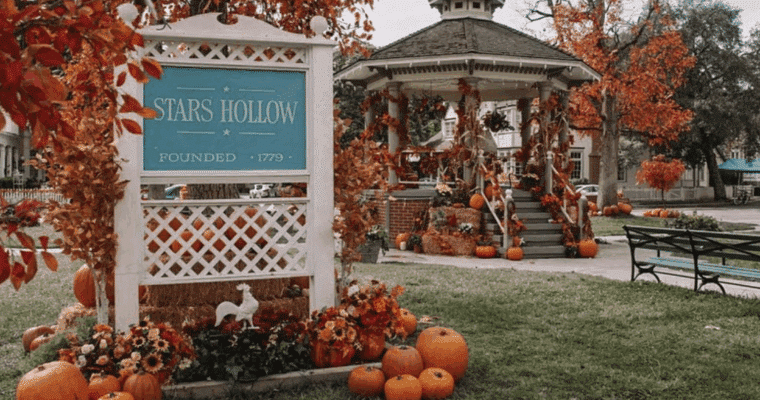
Reading Time: 4 minutesFinally, the -ber months are here! October is upon us! And with it comes all the glory of fall and spooky season! I think this is the first time that I’m actually on the ball enough to plan things out for shows. Usually, I’m struggling …Read More….