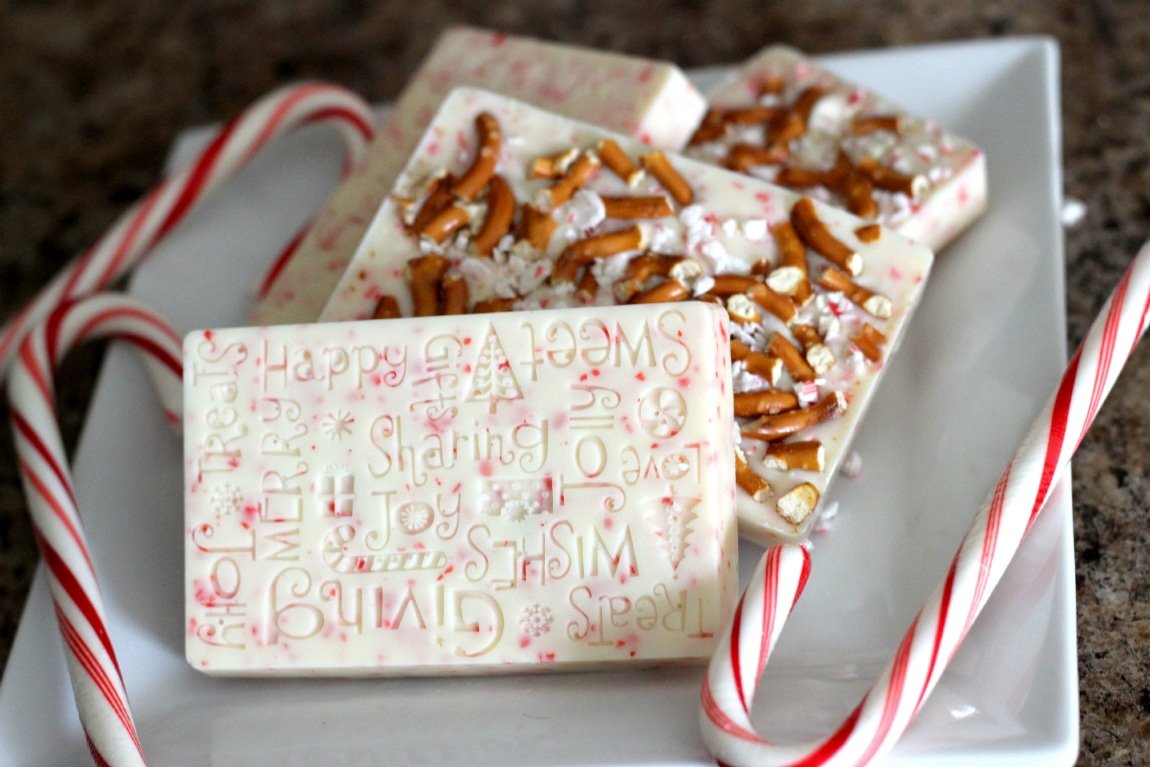

Salted Caramel & Peppermint Hot Cocoa Snowflakes
Reading Time: 9 minutesHappy holidays!! Just to be clear, I’m not the politically correct type to tell everyone happy holidays. No offense to anyone, but I’ll Merry Christmas your ears till the elves come home. But since we’re in the holiday season and it’s not Christmas yet, that’s how …Read More….