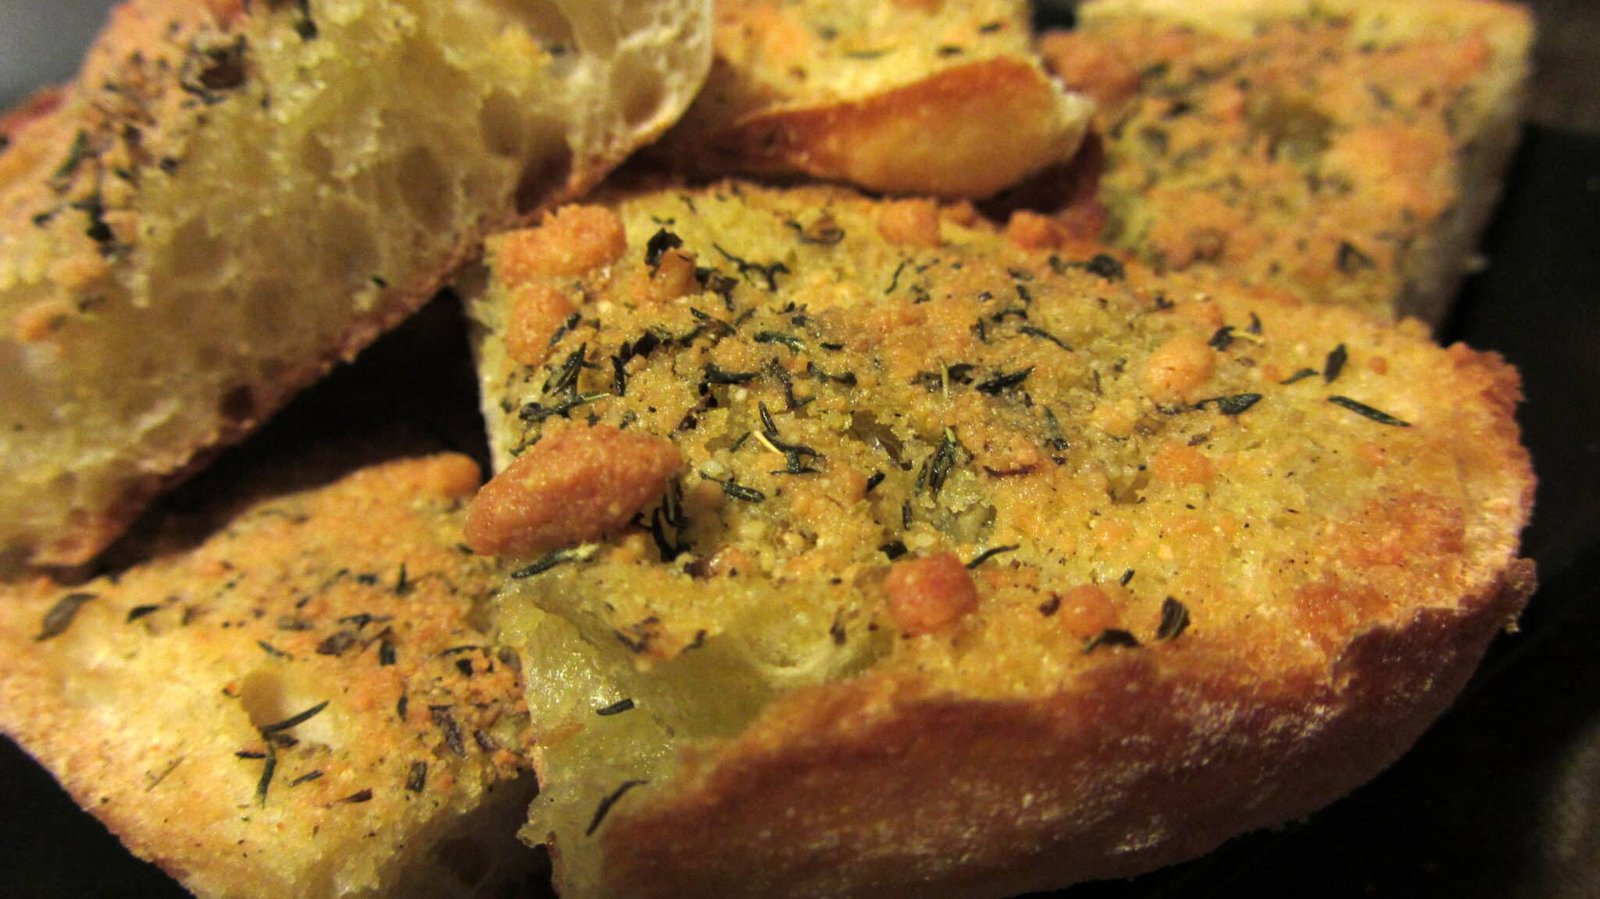
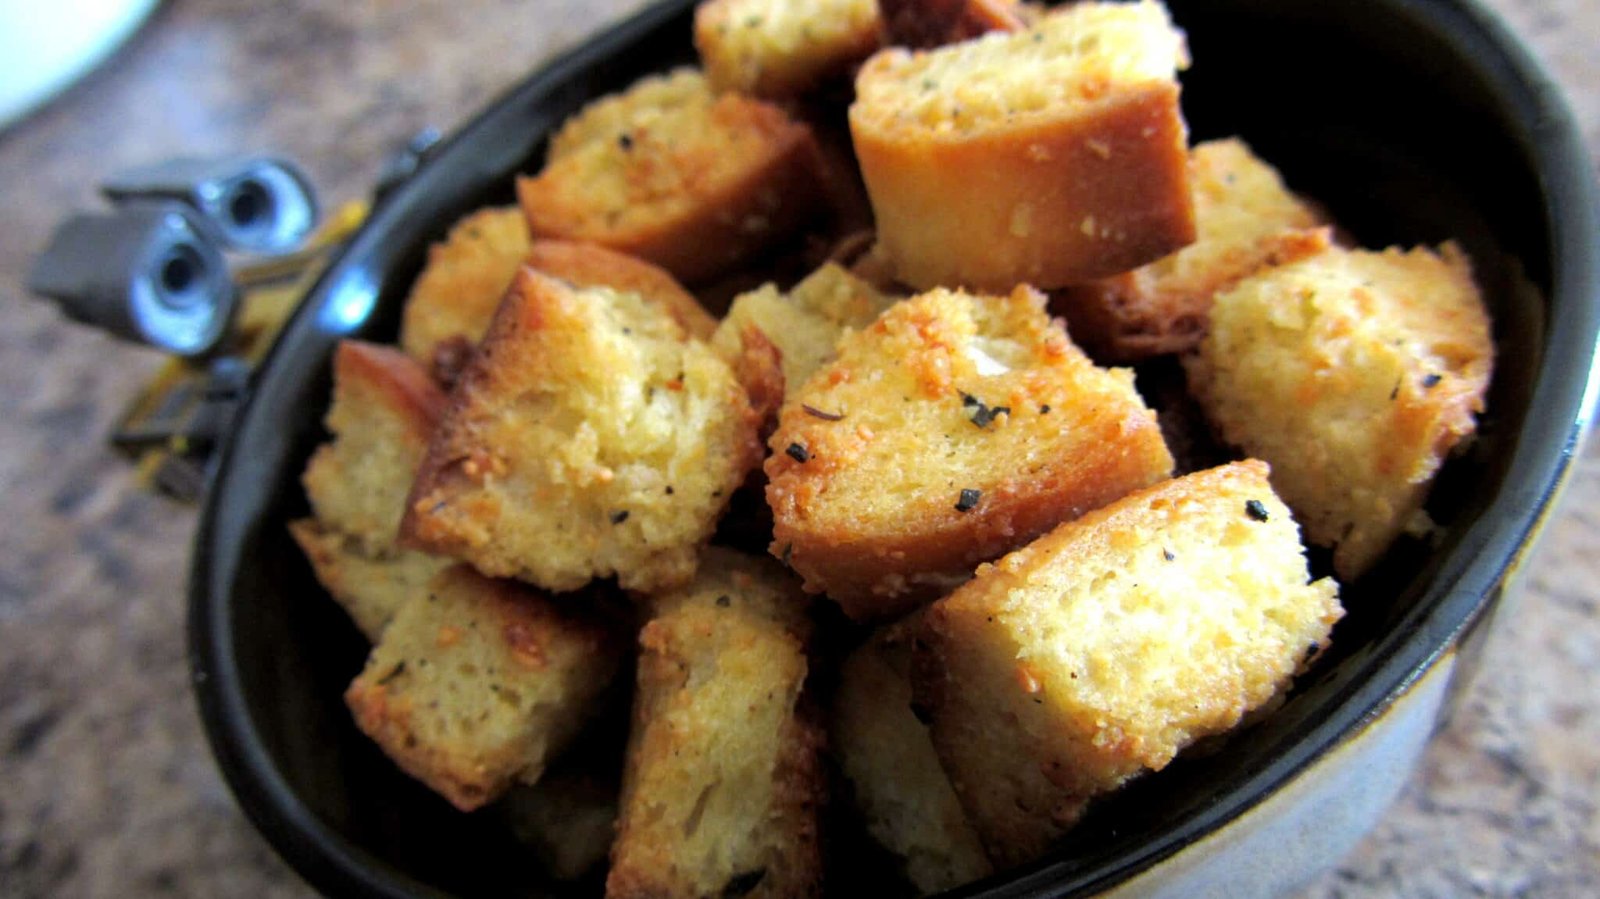
3 Doors Down – Citizen Soldiers It happened again… I made a post with garlic bread and before I knew it, I started getting urges… I thought it would pass but after a few days my hands started shaking and I couldn’t control it… …You’re …Read More….
Like A Stone So we had spaghetti last night. One thing I love about spaghetti night is I get to make garlic bread. I freaking love me some garlic bread. With 2 different variations already on here, I figured why not help you put one to more …Read More….
“PO-TAY-TOES! Boil ’em, mash ’em, stick ’em in a stew…”
Haha. Sorry… Whenever I see the word “taters” I always hear poor, little Smeagol asking what they are.
I love me some mashed potatoes. And there are close to a bajillion ways to make them. Not talking proper vs improper, I’m talking all the different things you can put in them to make them different.
These today are your basic garlic variety. Nothing really fancy about them but you don’t really need anything else.
Unless you have bacon. You always need bacon.
Garlic Mashed Potatoes:
6-8 each ~ Russet Potatoes, diced large 2 tablespoons ~ Butter ¾ cup ~ Heavy Cream 1 teaspoon ~ Salt ¾ teaspoon ~ Pepper 1 teaspoon ~ Garlic Powder 1 teaspoon ~ Thyme
Notes:
I usually peel the skin off the potatoes when I do mashed. Sometimes I go rustic and leave them on, which mostly just saves me some time. It doesn’t really matter though when it boils down to it. (haha, get it?!)
When cutting the potatoes, try to cut them uniform in size. That way, when you’re cooking them, they’ll all be ready at the same time as opposed to smaller cuts being ready before bigger cuts.
Speaking of smaller vs. larger, I said to cut them on the bigger side. If you cut them too small then everything will be cooked to high hell and you’ll lose the few nutrients that you would’ve had otherwise. But, on the flip side, if you cut them too big, the outside will be overcooked and the inside will be undercooked. So I guess what I’m saying is cut them big, but not too big.
Hey, don’t get mad at me! I don’t know how big your potatoes are! Send me a picture of your potatoes before you dice them and I’ll tell you how big they need to be cut. There! Happy?!
I’m telling you to use heavy cream even though I don’t usually have heavy cream and just use milk. So I guess what I’m telling you here is you can use milk if you need to, but try and go with heavy cream.
POTATO MASH!
Peel your potatoes, dice them and put them in a pot filled with cold water. Set them on the burner and bring them to a boil.
I know, I know… But why cold water? Why not just have boiling water ready and toss them in there? Why, Los… WHY?!
Well, I’m glad you asked!
If you throw them in boiling hot water they’ll immediately begin their cooking process. Your common sense may tell you there’s nothing wrong with that, but a potato is pretty dense. So by the time they’ve been in there long enough for the center of the potato to be done, the outside will already be breaking down from being exposed to the hot water for so long. But, if you start them off in cold water first, the potatoes will begin to cook at the same pace the water is beginning to boil. Everything cooks evenly and everyone is happy.
Am I making sense again? I hope so!
Once the water comes to a boil, let the potatoes cook for about 10-15 minutes. When you can stick a fork or a knife easily into one of the larger potato chunks you can find and have it easily slip right off, then they’re done. Turn off the burner.
Dump them in a strainer and shake off the water that’s still on them. Then go ahead and dump them back in the same pot they were just boiled in.
What I like to do is put the pot back on the burner then cover it almost completely with a towel. The residual heat that is still on the burner will help steam the potatoes and get rid of the moisture that is still lingering around. Let them steam for about 5 minutes.
In those 5 minutes, don’t twiddle your thumbs. Go ahead and take the heavy cream (or milk) and put it to heat up in a pot. You don’t want it boiling, just steaming.
Why go through the trouble? Well, the potatoes are in a cooling down phase right now. If you add a cold, thick liquid like heavy cream, your taters will get cold almost instantly, and you don’t want to work with cold taters.
Oh and while you’re at it, put the butter on the back of the stove where it’s nice and warm so it can get a little softened.
I’m telling you to take the butter out now because I know if I told you to take it out earlier you would not have listened to me. You never do. No one cares about letting their butter come to room temperature. You know, if I had a nickel for every time… Ugh, I digress…
Ok, potatoes are steamed and the cream is steaming.
Take the butter that should be semi-room temperature by now, add it to the potatoes and incorporate it before you do anything else.
Doing this will coat the starch in the pots with fat so it won’t absorb the liquid. Fat coated starches that don’t absorb liquid will help your battle against gluey mashed pots. Ha! The things you never thought you’d say.
Alright, pour in half the cream and stir it in. Take a look at the consistency and add as much more cream as you think you need. I say do it this way because sometimes I add ¾ of a cup and it’s not enough, other times it’s too much. Depends on how many potatoes you used and how big they were. So this step is up to you. Don’t eff it up.
No pressure.
Now that everything is all creamy and looking like mashed potatoes, add all your spices and seasonings and give it a good stir. Taste it, and add more of what you’d like. Taste it again, and be happy because you just made mashed potatoes.
Hope you enjoyed. Remember, this is just a basic mashed potato recipe. I plan on doing another post soon with different varieties of mashed taters that I enjoy, so stay tuned!
I would like to take this time to apologize. Why am I apologizing? Well, one, because I feel like I’m neglecting all 9 of you who regularly check out my blog. I’ve been crazy busy with moving and I’m missing out on primo fall-time recipe …Read More….
I’ve been in this garlicy, bready kind of mood lately, have you noticed? Nah, I bet you didn’t. But if you did, you’re probably wondering what I have up my sleeve next. Go ahead, guess.. (If you guessed bread, I’ll give you another chance to …Read More….
Have you ever had a giant bowl of pasta, then afterwards still feel a little empty inside? Like something was missing and you just couldn’t figure out what? Well I’ll tell you what was missing…
Garlic Bread.
If you’re having pasta, no matter how much of it you have in front of you, there should always be a plate of garlic bread near by. Matter of fact, I’m sure that’s written in stone somewhere.
And I’m not talking about Olive Garden garlic breadsticks here. I’m talking…
Oh no.. Don’t you sit there and act like you never went to Olive Garden and had their breadsticks. Everyone has. Heck, it’s all people eat there, it’s a proven statistic. A sad one, but it was documented.
But I’m not here to talk about Olive Garden or how fake and terrible they are. I’ll save all that rage for another post.No, let’s get back to the matter at hand. Garlic bread. Real garlic bread. You know, with actual garlic.
I know I say it in every post, but I can’t stress the simplicity of this. If you are that person who buys the loaves of frozen garlic bread in the store, then you really need to just stop. Seriously, don’t buy anymore, those are disgraceful. Pulling that out of the freezer, into the oven and calling it garlic bread is like saying you’re going out for an authentic Italian dinner, and then driving to the Olive Garden.
Damn Olive Garden, just keeps on coming back up. (zing!):
Garlic Bread:
1 each ~ Baguette or other long crusty bread 1 stick (½ cup) ~ unsalted Butter 1 ½ tablespoons ~ Fresh Garlic, chopped 2 tablespoons ~ Cilantro, chopped To Taste ~ Salt and Pepper
Notes:
I have a few recipes for garlic bread. This is the more “party friendly” one since it’s more presentable and personal. I’ll do another one soon.
If you don’t like Cilantro for some absurd reason, you can very easily substitute it for plain ol’ parsley.
The salt you add can make this “ok” or it can make it “addicting”. So keep that in mind when seasoning.
When cutting the bread, if you want crispier bread, cut it thin. I’ve cut it as thin as a quarter of an inch. This is the size that is optimal for a party platter or for general company since it’s easy to consume and doesn’t feel like a lot at once. If you want a more hearty, chewy bread then cut it thicker, about 3/4 of an inch to an inch. This is good for dinner time where one piece can soak up some sauce and last you a bit.
Alright, fun time:
First things first, turn on the oven to 350°. Then chop the garlic and cilantro. I chop them both a bit rough since I don’t mind biting into a bigger piece of each. Once chopped, put the butter, garlic and cilantro in a pan and turn the heat on low.
While it’s melting, cut the bread at a bias.
If you don’t know what a bias cut is, check out this informative video that’s probably going to make you scratch your head at the simpleness it teaches. Bias means to cut at an angle, and it’s mostly for presentational purposes. You won’t be using the ends, but keep them for tasting the mixture.
Thinner
Thicker
When you’re done cutting the bread thin or thick depending on your preference, the butter should be melted. Add a bit of salt and pepper to the butter, stir, then dip one of the ends in and taste it. What you taste is what the end product will be like, so if you need more of salt and pepper, you’ll know here instead of at the dinner table.
When it’s to your liking, line a sheet tray with aluminum foil then spoon some of the butter mixture onto the tray and spread it around with the back of the spoon or brush until the entire tray is covered.
Place the bread on the tray while giving it a little swirl to get some butter underneath. When you have all the bread on the tray, get a pastry brush and brush the butter mixture on top of the bread. Put enough for a nice coating but don’t pour it on or you’ll have a soggy, greasy bread. If you don’t have a brush, just use a spoon, a fork, your fingers, seriously, who the hell cares?
Now depending on the thickness of how you cut the bread, you’ll want to check how long you put it in the oven for. If the bread is thin, you’ll want to check it in about 8 – 10 minutes. If it’s thick, it can probably go 12 – 14 minutes.
Whichever you did, don’t walk away and forget about them. They’re going to be done when the edges are slightly golden. If you want them more golden and crispy, then by all means, you won’t hurt my feelings.
Enjoy, and don’t forget to save some for everyone else.