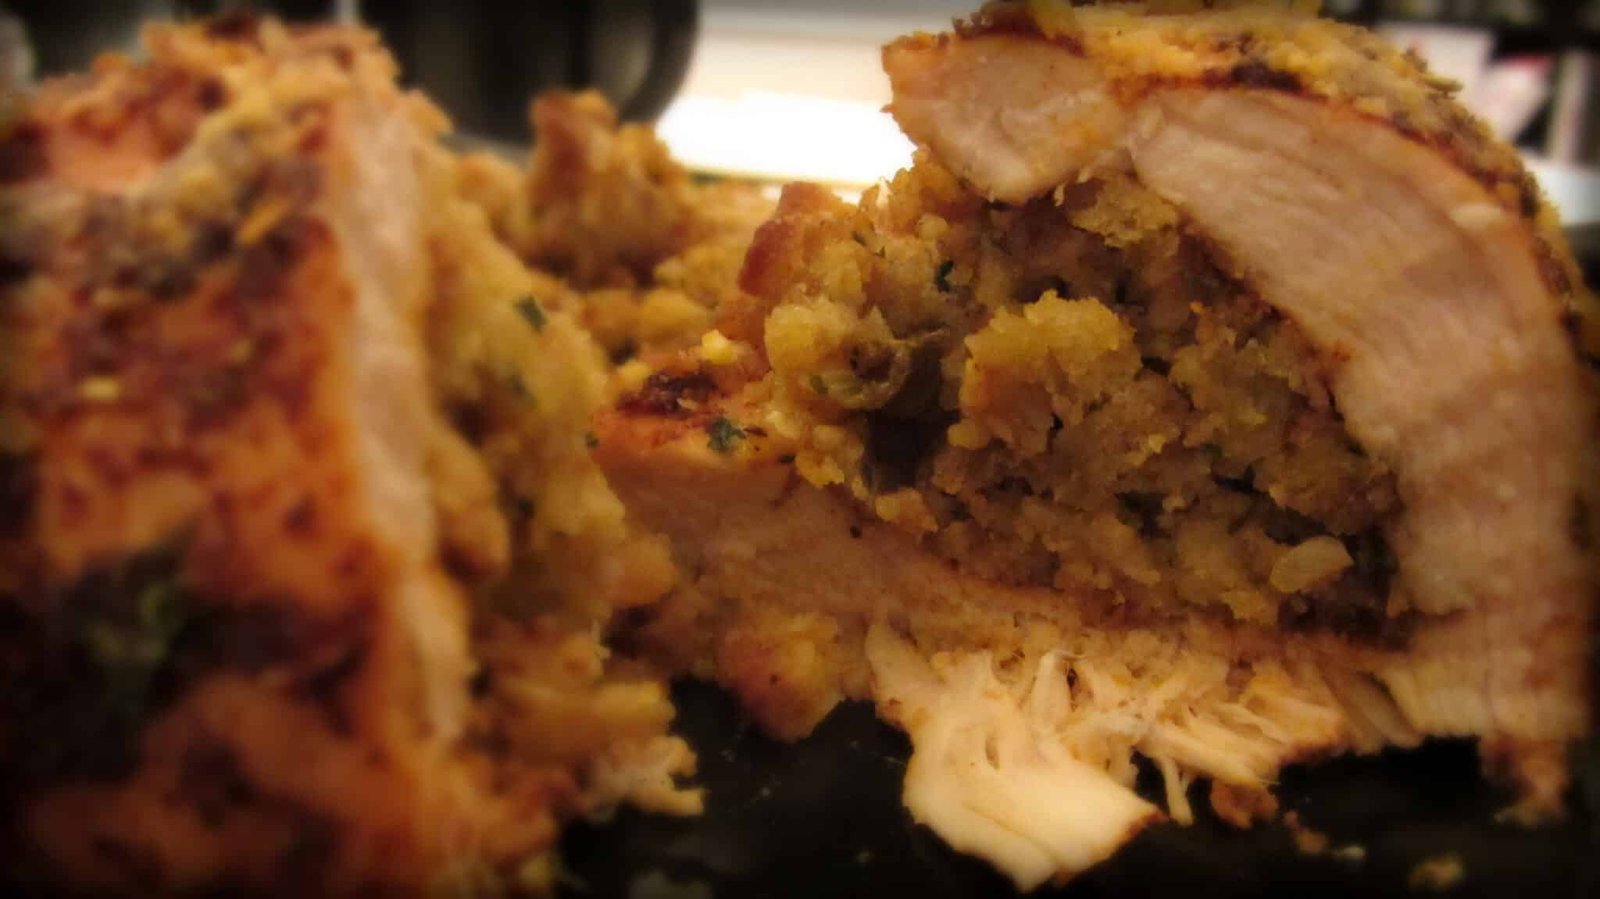
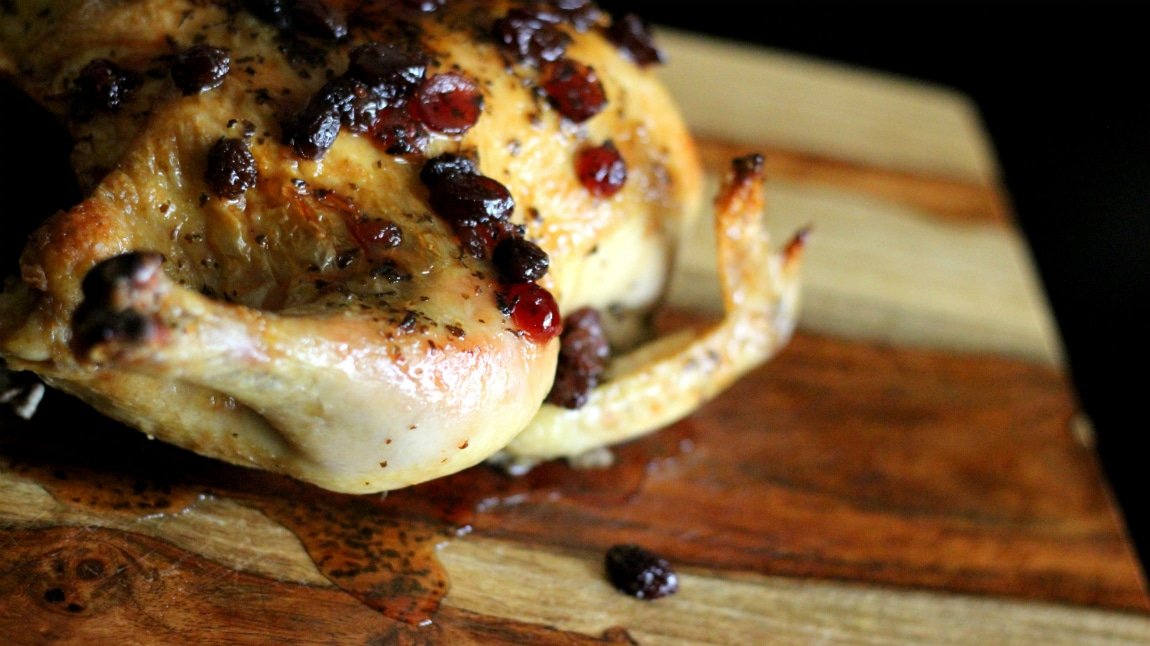
Honeyed Chicken – A Recipe from Game of Thrones
Reading Time: 8 minutesHappy Game of Thrones week! For those who don’t know what Game of Thrones is… Who the heck are you?! I have been trying to make a food series from the show and I think I’m doing alright. This Honeyed Chicken is going to fit …Read More….